Sighting in a Riffle
Whether you just won a new rifle from the raffle boards you’re always getting on, you’re a brand-new hunter just diving in, or it’s time to upgrade your existing scope, you’re going to need to sight it in before you can do much else with it. Some people are a little intimidated by sighting in a rifle, especially if it’s their first time or they don’t have to do it much. But anyone can do it themselves in just a few simple steps, provided they have a few pieces of equipment and a good shooting range to practice at.
Step 1 – Before you begin sighting in a riffle
Any time you’re going to use a potentially dangerous tool, you should pause to get the right personal protective equipment (PPE). In this case, wearing eye and ear protection is very important. Since you’ll be taking a few shots while you sight a rifle in, it is important to use some kind of ear plugs, muffs, or a combination to protect your hearing. Similarly, wearing eye protection will keep your vision safe from any stray materials.
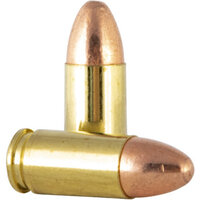
Another thing that many people skip is to check their rifle and scope for loose connections before they shoot. You want to ensure that the scope is correctly mounted and secured tightly before you take any shots. Last, always sight rifles in with the same ammunition you will be using while hunting. Remember, you’re sighting your rifle in for a specific bullet weight, shape, powder load, and brand. Switching any of these variables can affect your zero, so always practice with the same ammo you will use later.
Step 2 – Eliminate human error
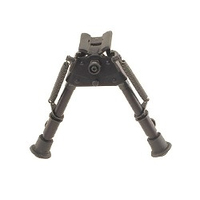
.png) In order to streamline the process as much as possible, you should always try to remove the human element from sighting in a rifle. When we simply mount a rifle to our shoulder, we’re introducing complicating factors. Maybe we’re torquing it to one side or shaking ever so slightly. That will make zeroing a rifle very tough. To combat this, set up a shooting rest and/or shooting table to eliminate the human error. By resting your rifle in a gun vise, shooting sled, or even on shooting bags, you can be confident that the bullet will land where the scope is telling it to go. In turn, that will make the adjustment process much simpler. When you shoot the rifle, try to only line it up and lightly squeeze the trigger so you don’t twist it in any way.
In order to streamline the process as much as possible, you should always try to remove the human element from sighting in a rifle. When we simply mount a rifle to our shoulder, we’re introducing complicating factors. Maybe we’re torquing it to one side or shaking ever so slightly. That will make zeroing a rifle very tough. To combat this, set up a shooting rest and/or shooting table to eliminate the human error. By resting your rifle in a gun vise, shooting sled, or even on shooting bags, you can be confident that the bullet will land where the scope is telling it to go. In turn, that will make the adjustment process much simpler. When you shoot the rifle, try to only line it up and lightly squeeze the trigger so you don’t twist it in any way.
Step 3 - Start close to your target
Next, you’ll need to head to a safe shooting range. It could be a public shooting range or just a spot behind your house with a safe backdrop. One of the best ways to start sighting in a rifle is to keep your first shots at close range. Basically, by reducing the distance between your rifle and the target, you drastically improve the chance that your bullet will land on target – somewhere. It really doesn’t matter where at this point, but you do have to hit the target, or you’ll just be guessing as to how to adjust a rifle scope. Set up about 25 yards away from your target. Settle your crosshairs in the bullseye and safely take a shot. Put the gun back on safe and go check the target to see where you landed. If you hit the paper anywhere, you now know where you can adjust from.
You can also bore sight a rifle for this first adjustment, which will make things much simpler. Insert the appropriate bore sight for your caliber rifle in the end of the muzzle. This will shine a laser downrange at the target, so you know exactly where your bore is aimed. Simply adjust your crosshairs so that they line up with the laser. This can save a lot of time (and ammo) and take a lot of the guesswork out of sighting in a rifle.
Step 4 – Adjust scope
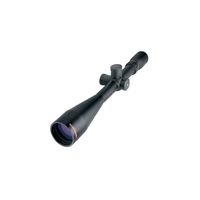
 Now it’s time to adjust your scope so you can move your point of impact closer to the true bullseye. Look at the turrets on your scope to find how many clicks it will take to move the point of impact 1 inch at 100 yards. For example, your scope may have 1/4 minute of angle (MOA) adjustments (which is common for many scopes), meaning 1 click moves the impact point 1/4 inch at 100 yards. So, if you’re off by 1 inch, you would have to turn the scope turret 4 clicks.
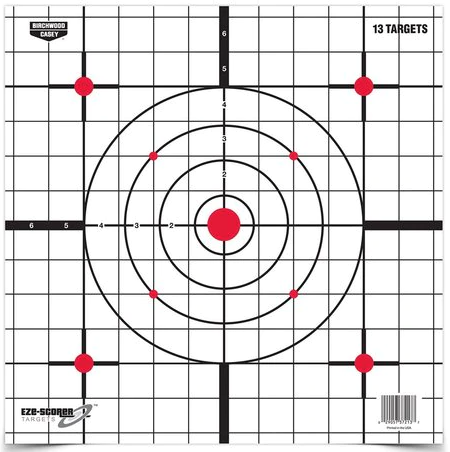
But remember that you’re sighting in a rifle at 25 yards initially, not 100. There’s a reason for that – you can neatly divide 100 yards by 25 yards into 4. Take whatever number of clicks you’d have to do to get it to centre, and then multiply it by 4. Take another shot and see where your bullet impacts this time. It really helps to use paper targets with 1” grid lines on them so you can easily determine how far you must adjust your scope.
Step 5 – Extend shooting range
Now that you’ve dialled things in at this close-range distance, it’s time to move your target out further. Don’t leap right to 200 yards though. Take a shot at 50 yards and make any additional adjustments to keep the impact point roughly zeroed. After 50 yards, go through the same process at 100 yards. This distance is where many deer hunters decide to leave it as that is likely their ideal shooting range. If you’re sighting in a rifle for western hunting, you may want to keep extending your range out to 200 yards or beyond. Either way, when you get to your final shooting range where you want to truly zero your rifle, take a few shots and make few adjustments.
When you’re all done at the shooting range, don’t forget to clean your firearm. After shooting multiple rounds through the barrel, it’s good to remove the powder residue from the bore before you store it. Follow these simple steps above, and you’ll be shooting straight in no time.